Pardot Integration: Send Sequel Registration & Attendance Data to Pardot
Last updated: November 4, 2026
Learn how to connect Sequel with Pardot to map custom registration fields and automatically sync users to specific Pardot lists
Sequel supports a native integration with Pardot — enabling automatic prospect creation, field mapping, and list syncing based on user registration and attendance behavior.
This feature is currently available for Business customers. Reach out to us via chat to have it enabled on your account.
What You Can Do with the Pardot Integration
Automatically create or update Pardot Prospects when users register
Map Sequel registration fields to your Pardot fields via dropdown
Send users to Pardot lists based on webinar behavior (e.g., attended, no-show)
Push data automatically within ~1 hour after the event ends
Native Pardot Integration Setup

You can set up the integration directly inside Sequel - no third-party connectors or middleware needed.
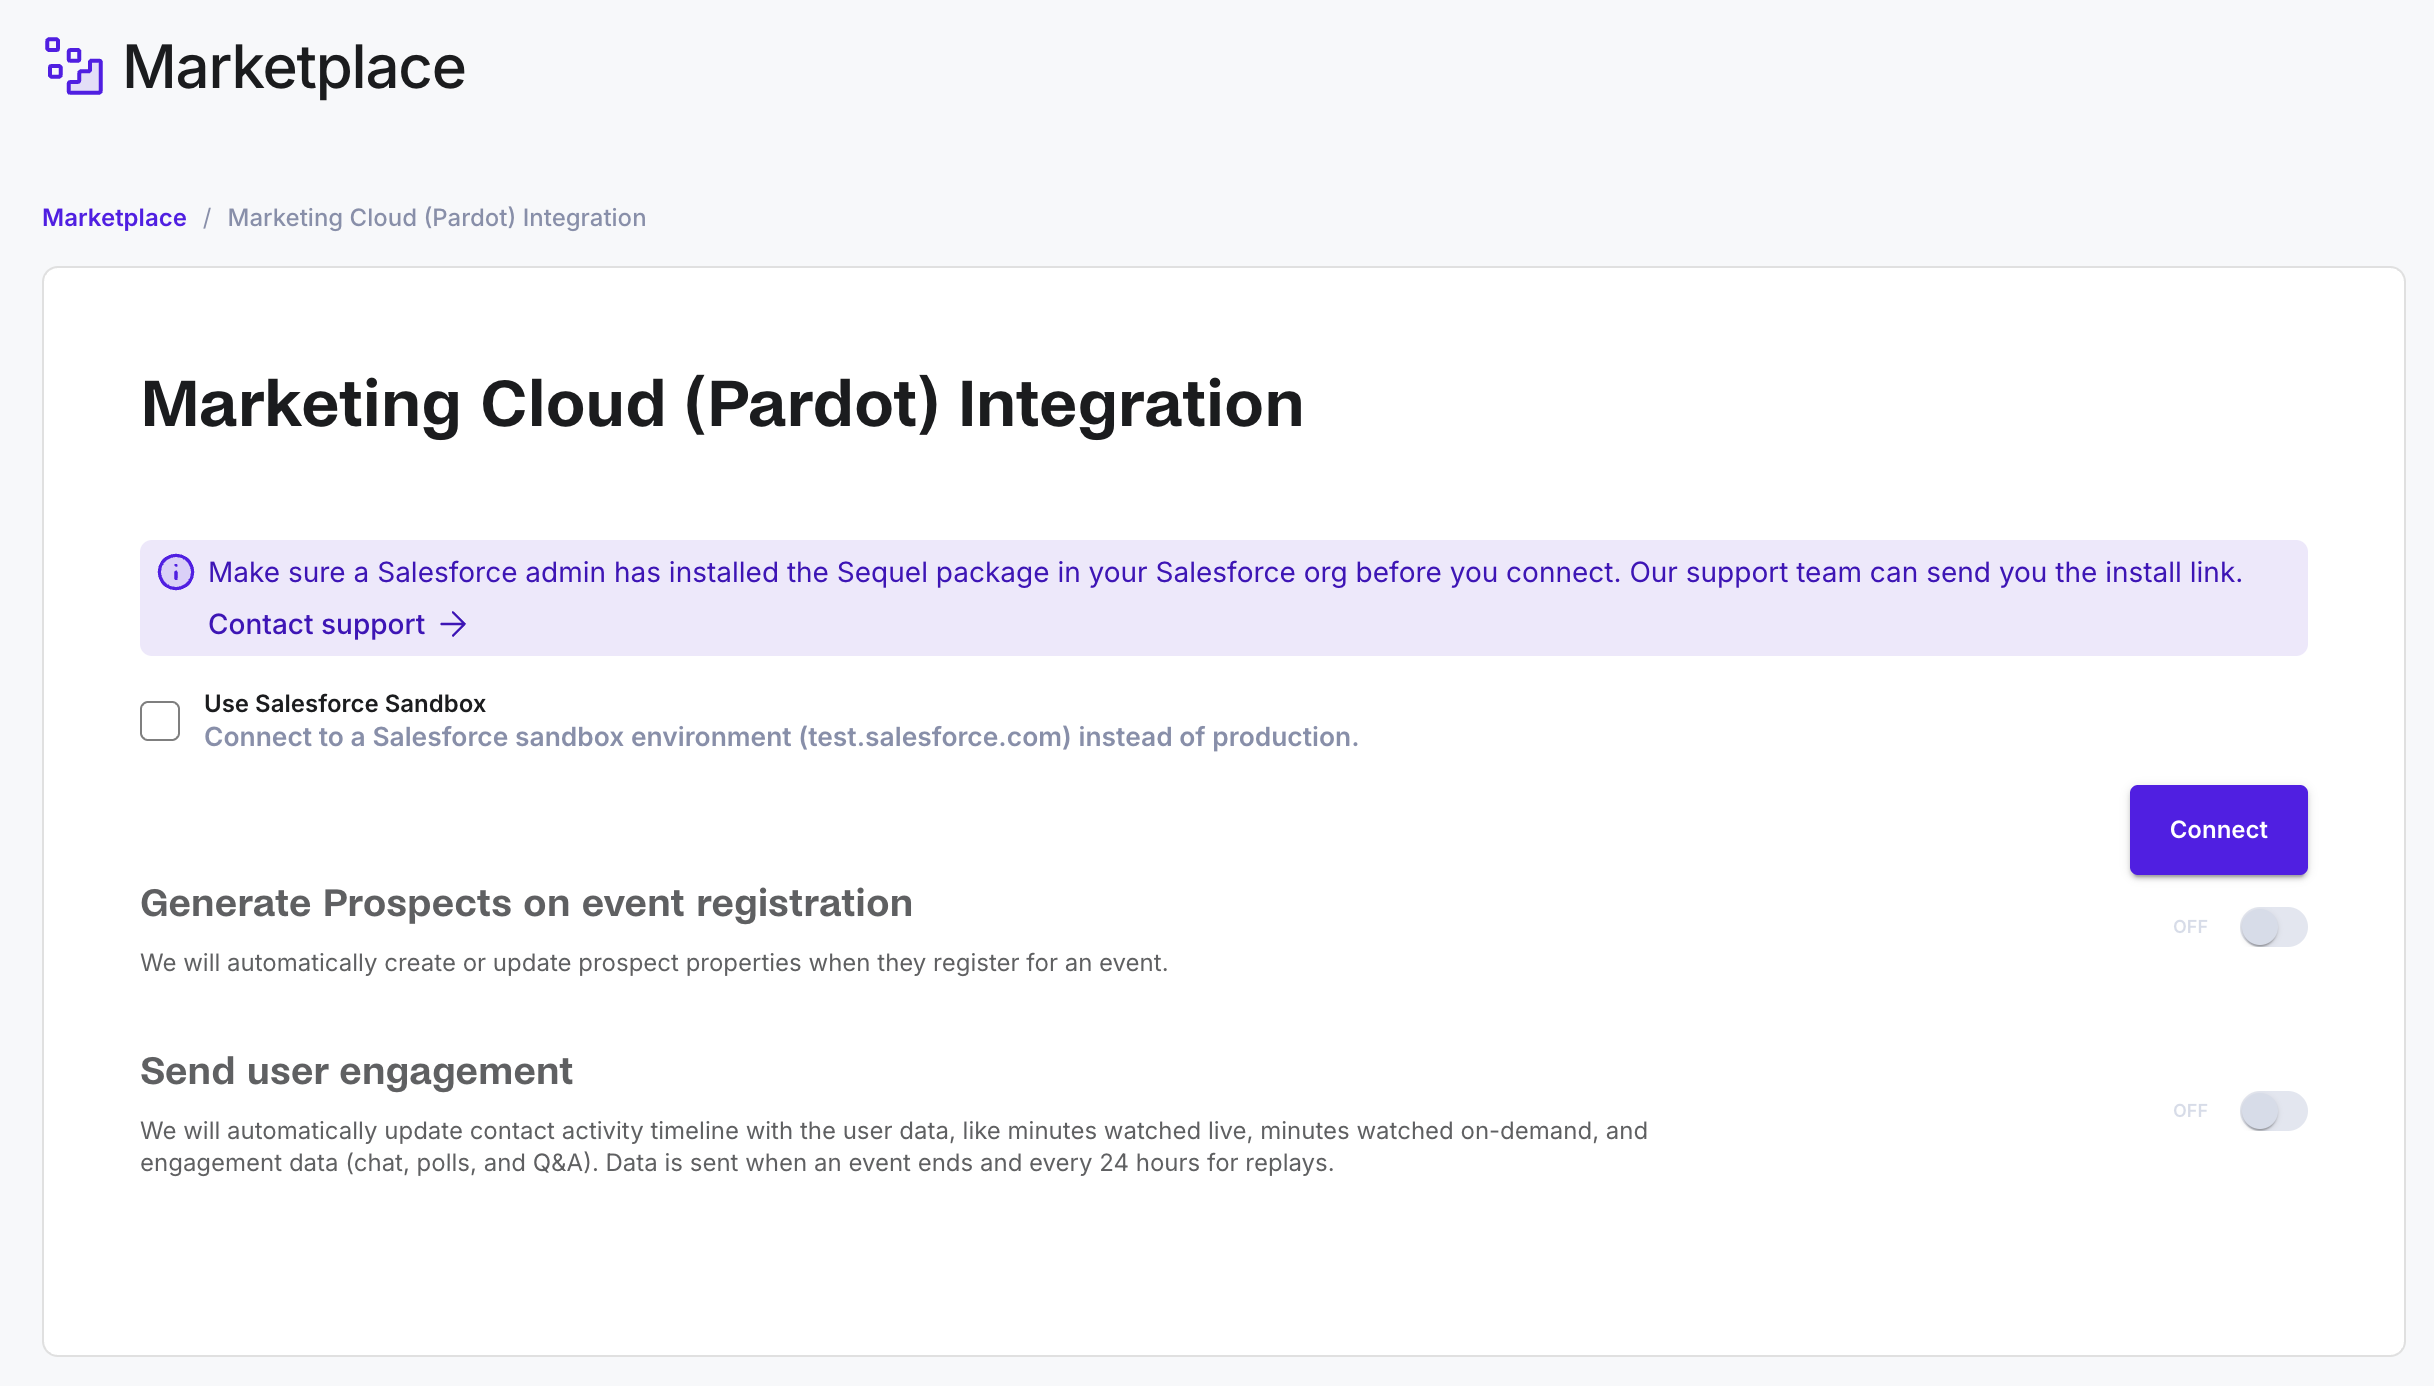
Before you start: A Salesforce admin needs to install the Sequel package in your Salesforce org. Contact our support team and we'll send you the install link.
To connect Pardot:
Install the Sequel package. Have a Salesforce admin install the Sequel package in your Salesforce org using the install link from our support team.
Authenticate. In the Sequel dashboard, go to Marketplace → Marketing Cloud (Pardot) Integration and click Connect.
Select your business unit. Once you're authorized, choose your Marketing Cloud business unit from the Business unit dropdown. Sequel syncs prospects into a single business unit. Leave API version set to v4 unless the Salesforce connector is enabled on your business unit, since v5 requires it.

Save, and you're connected ✅ Click Save. The integration status changes to Active, and the integration card shows your connection date and business unit.

Tip: You can change the business unit later without reconnecting.
Automatically Create or Update Pardot Prospects
When a user registers for a Sequel event, we’ll automatically create a new Pardot Prospect if one doesn’t exist — or update the existing Prospect if they’re already in your Pardot database.
Field values submitted during registration will populate mapped fields in Pardot
No need to manually create or import contacts — it’s all handled for you
Prospect creation happens in real-time during registration
Map Custom Fields from Sequel to Pardot
You can now map fields from your Sequel registration form — like Company Name, Phone, or any custom question — directly to Pardot fields.
How to set it up:
Open your event in the Sequel dashboard > Event > Event Settings
Go to CRM tab → Pardot
Under List Mapping, use the dropdowns to link each Sequel question to a Pardot field
Click Save
Note: Make sure your custom fields already exist in Pardot — Sequel pulls available fields from your connected account.
How to Create Lists in Pardot
To assign users in Sequel to Pardot lists, you must first create those lists inside your Pardot account.
Note: The list created must be static.
Log in to your Pardot account.
Navigate to the 'Prospects' tab.
Select 'Lists' from the dropdown menu.
Click on the 'Add List' button.
Fill in the required details for the new list, such as the list name and description.
Save your changes.
We recommend using a clear naming format like Sequel - [Event Name] - Attended.
Assign Users to Pardot Lists
Sequel allows you to automatically send users to specific Pardot lists based on their behavior:
Registered
Attended Live
No-Show
Watched On-Demand
To connect your lists:
In the Pardot integration screen, scroll to List Mapping
Sequel will auto-fetch your Pardot static lists
Choose which list to assign for each type of user (optional)
Click Save
Tip: You can assign all 4, just one, or any combination — it's flexible!
When Does Data Sync?
Sequel will push users to the selected Pardot lists within ~1 hour after your event ends, although it may take longer at times.
Attendees are analyzed automatically
Users are added to the lists they qualify for (e.g., a no-show won’t be added to “Attended”)