Badge creation and printing for in-person events
Last updated: November 6, 2026
Learn how to design name badges for your in-person events in Sequel's badge editor, and print them for attendees ahead of time or on-site.
Badges let you design and print attendee name badges directly from Sequel. You build a badge design once, and Sequel fills in each attendee's details from their registration when you print.
Badge designs belong to your company rather than a single event, so you can reuse them across all your in-person events.
Where to find Badges
Switch your dashboard to In-Person, then click Badges in the left sidebar. This page lists your company's badge designs, when each was last updated, and whether an event is using it.
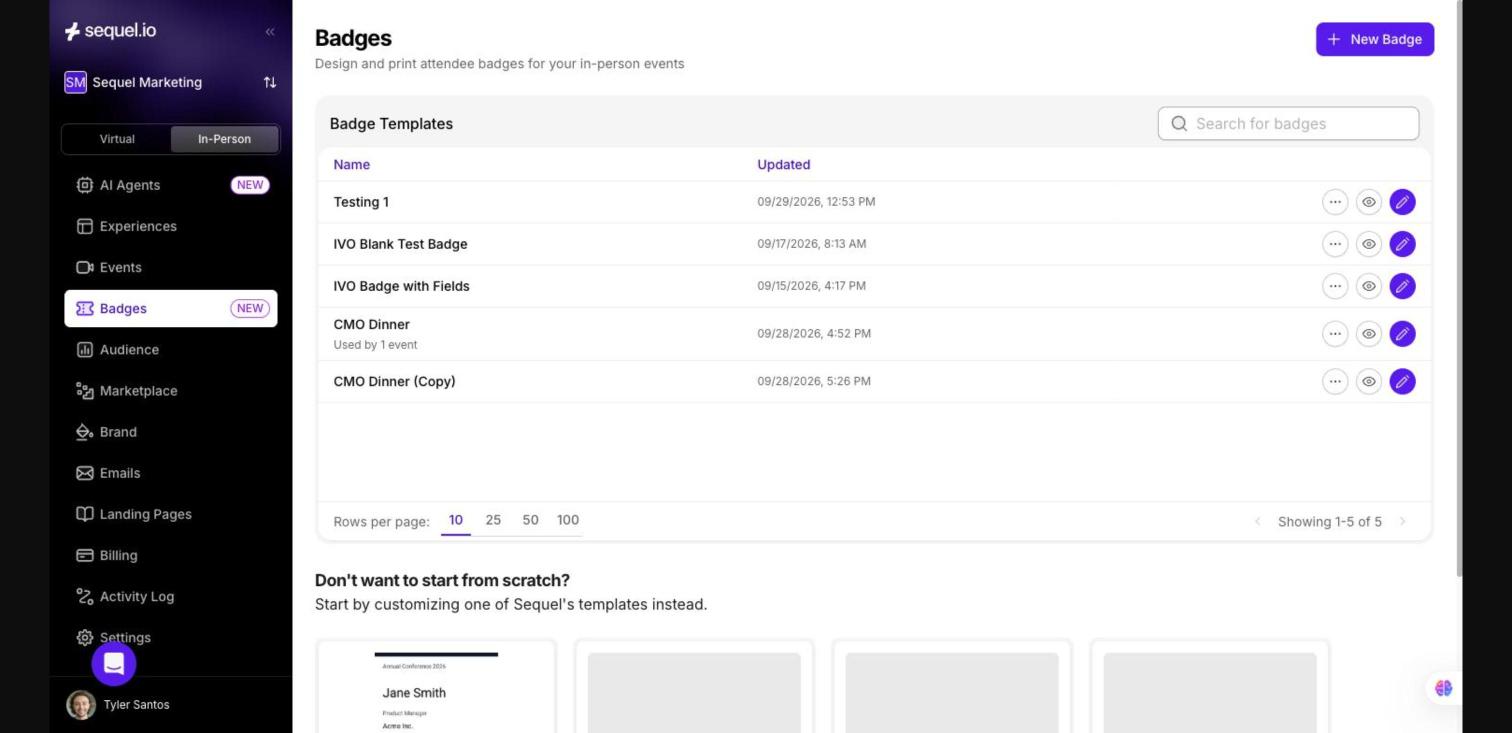
From each row you can:
Preview the badge (eye icon).
Edit the badge (pencil icon).
Rename, duplicate, or delete the badge (⋯ menu).
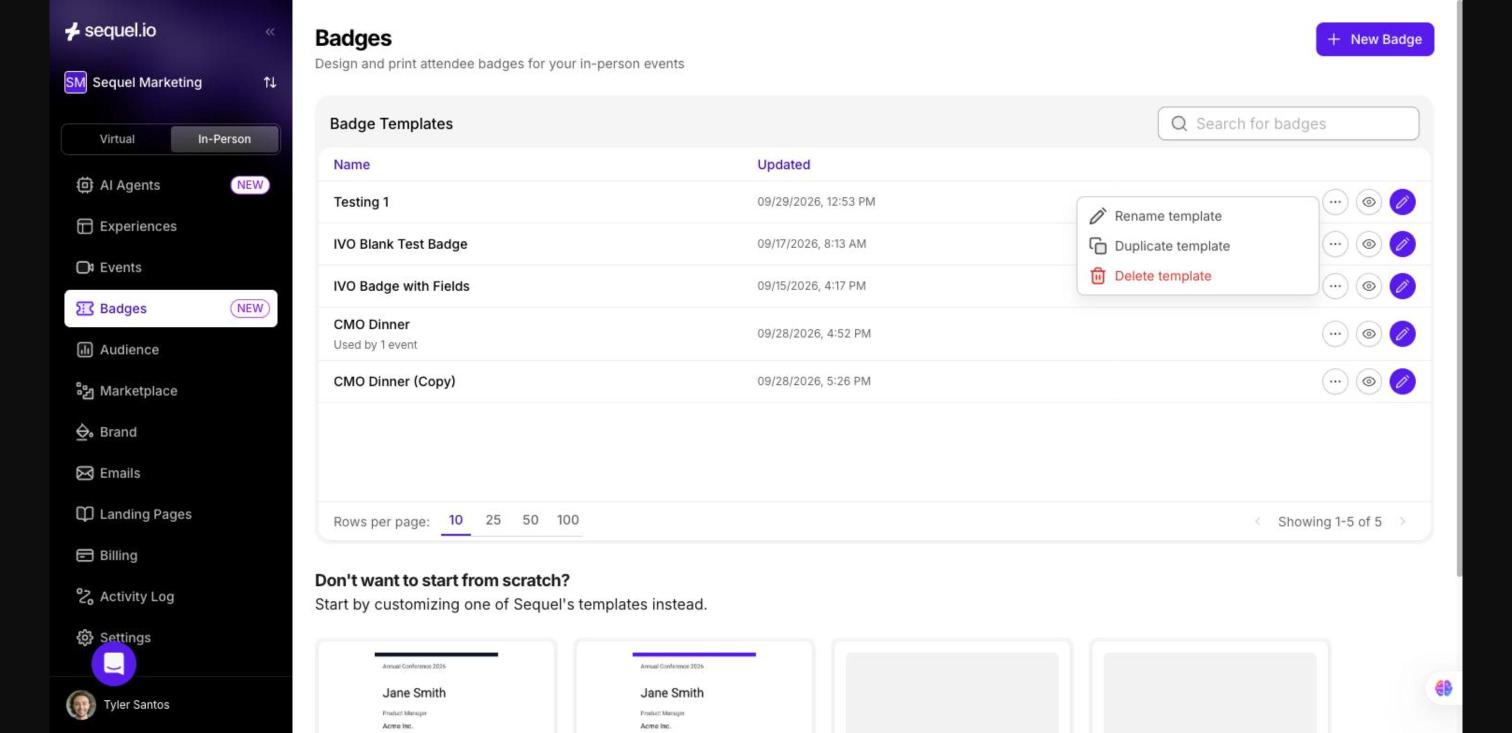
Create a badge
Click New Badge to start from a blank canvas.
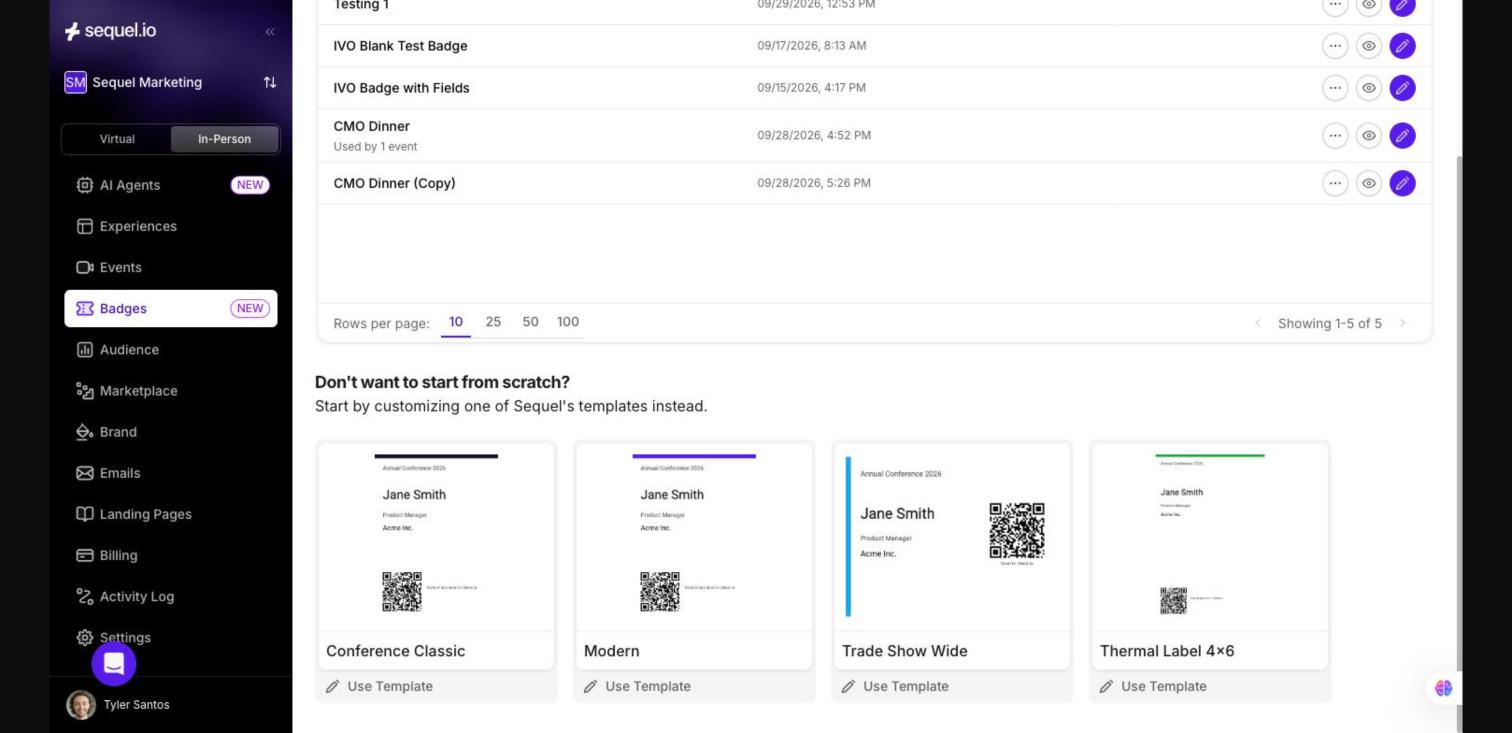
To start from a ready-made design instead, scroll to Don't want to start from scratch? and click Use Template on one of Sequel's templates:
Conference Classic
Modern
Trade Show Wide
Thermal Label 4×6
Design your badge
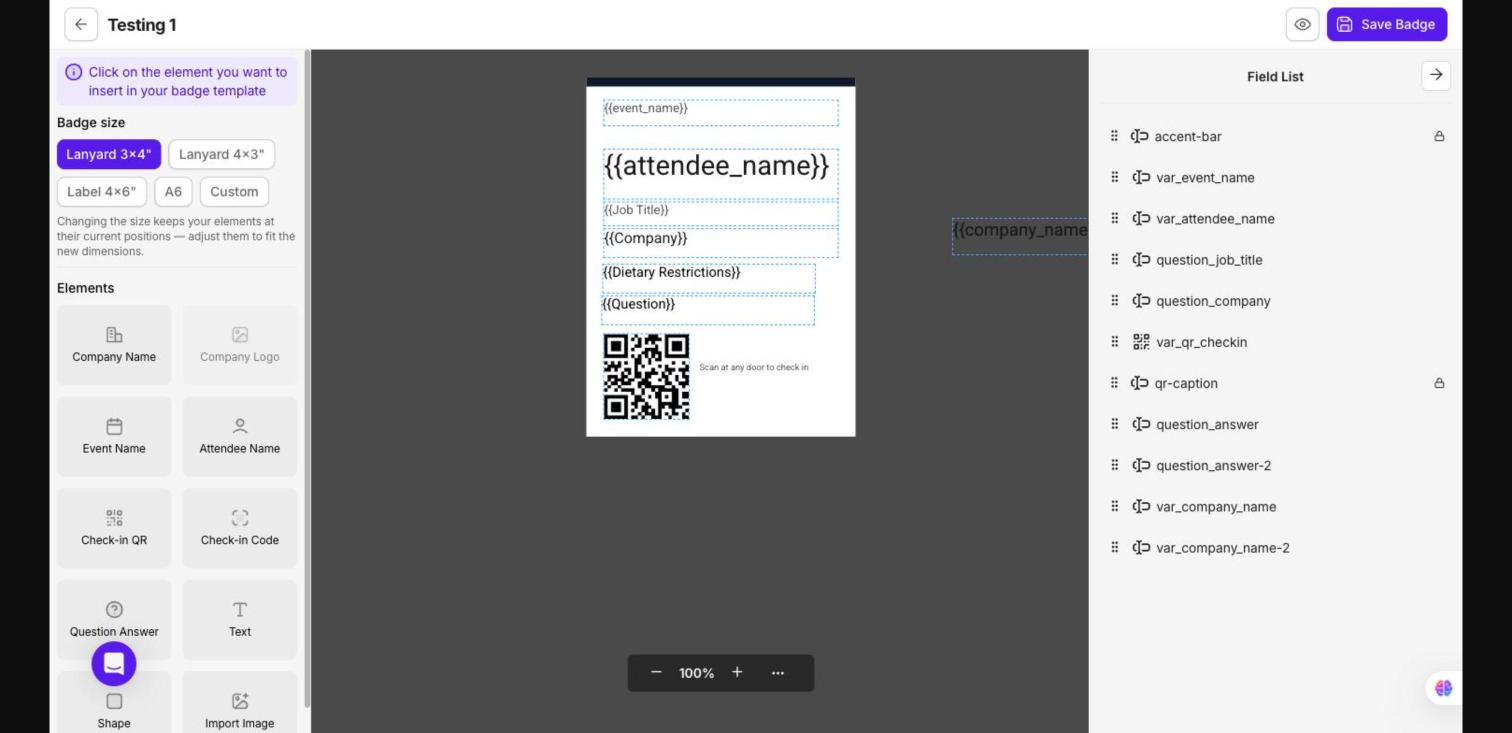
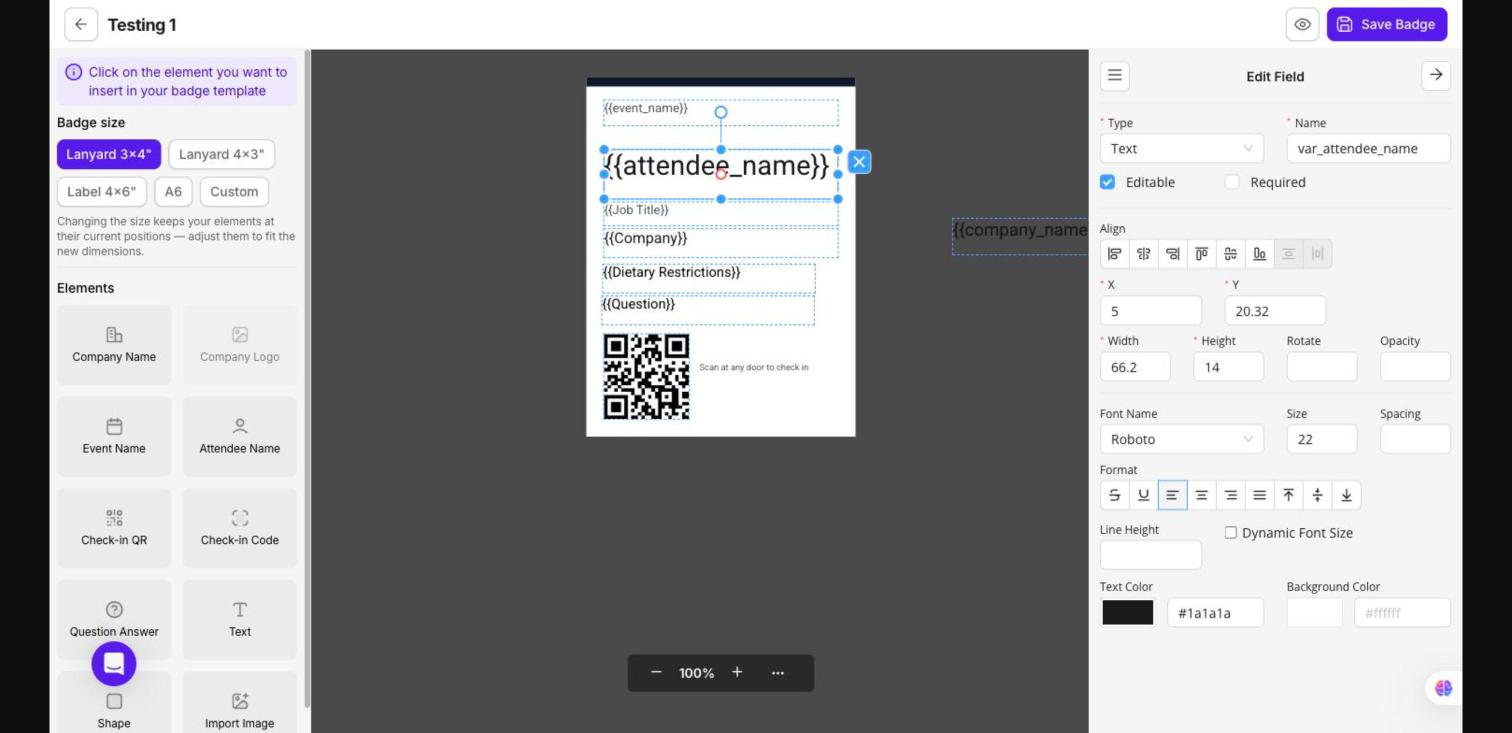
The badge editor has three areas:
Left panel. Choose your badge size and add elements.
Center. The canvas, where you arrange your badge.
Right panel. The Field List, showing every element on the badge.
Choose a badge size
Pick Lanyard 3×4", Lanyard 4×3", Label 4×6", A6, or Custom. If you change the size, your elements stay where they are, so you may need to move them to fit the new dimensions.
Add elements
Click an element in the left panel to add it to your badge.
Element | What it shows |
|---|---|
Attendee Name, Company Name, Event Name | Filled in automatically for each attendee |
Company Logo | Your company's logo |
Check-in QR, Check-in Code | Let staff scan or look up the attendee at check-in |
Question Answer | The attendee's answer to a registration question, such as job title or dietary restrictions |
Text | Fixed text that appears on every badge, like a welcome message or hashtag |
Shape, Import Image | Design elements such as accent bars and graphics |
Customize an element
Click any element on the canvas to open Edit Field. There you can set:
Position, size, rotation, and opacity
Font, size, spacing, alignment, and line height
Text and background colors
Turn on Dynamic Font Size to help long names fit.
Arrange layers
Use the drag handles in the Field List to reorder elements. Elements with a lock icon are locked in place.
When you're done, click Save Badge.
Preview your badge
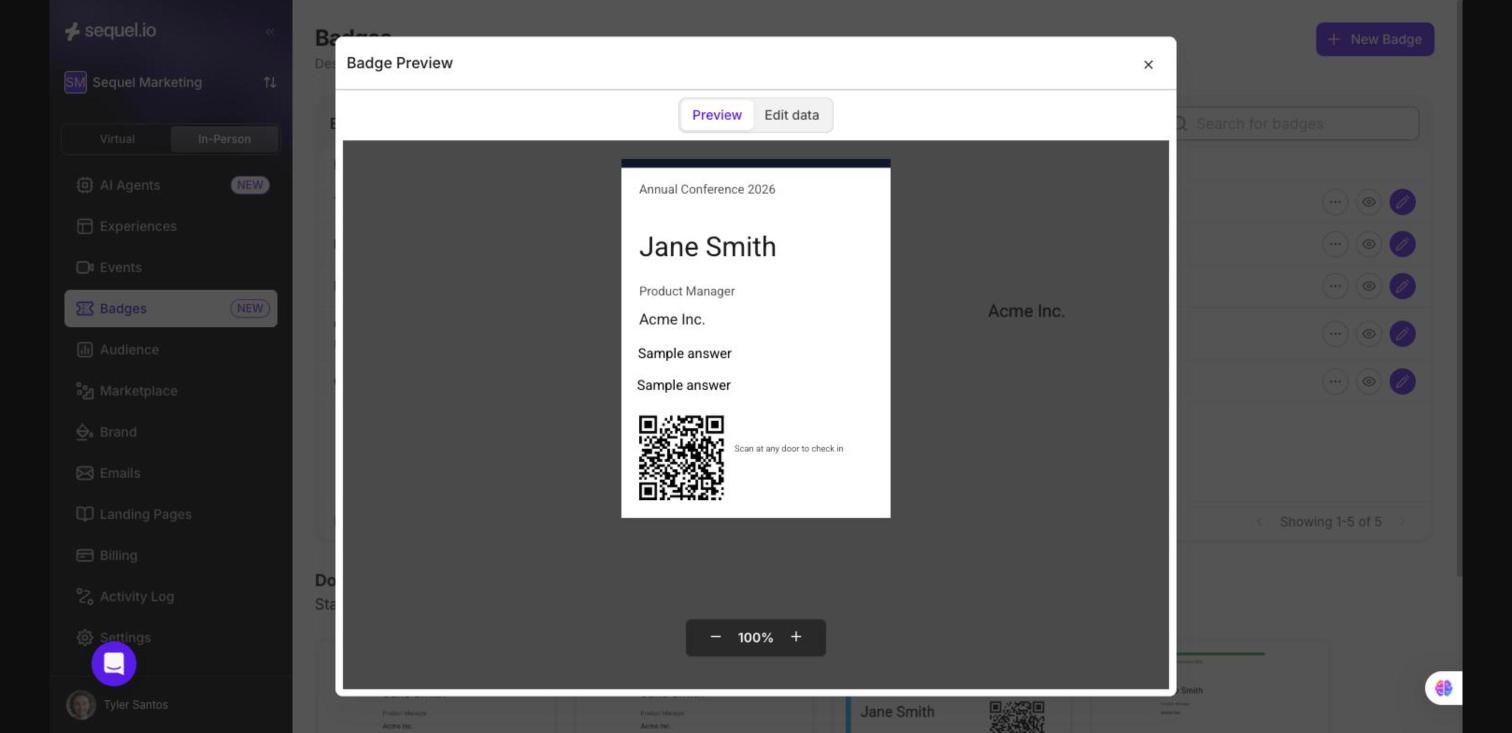
Click the eye icon, in the editor or on the Badges page, to see your badge filled in with sample data.
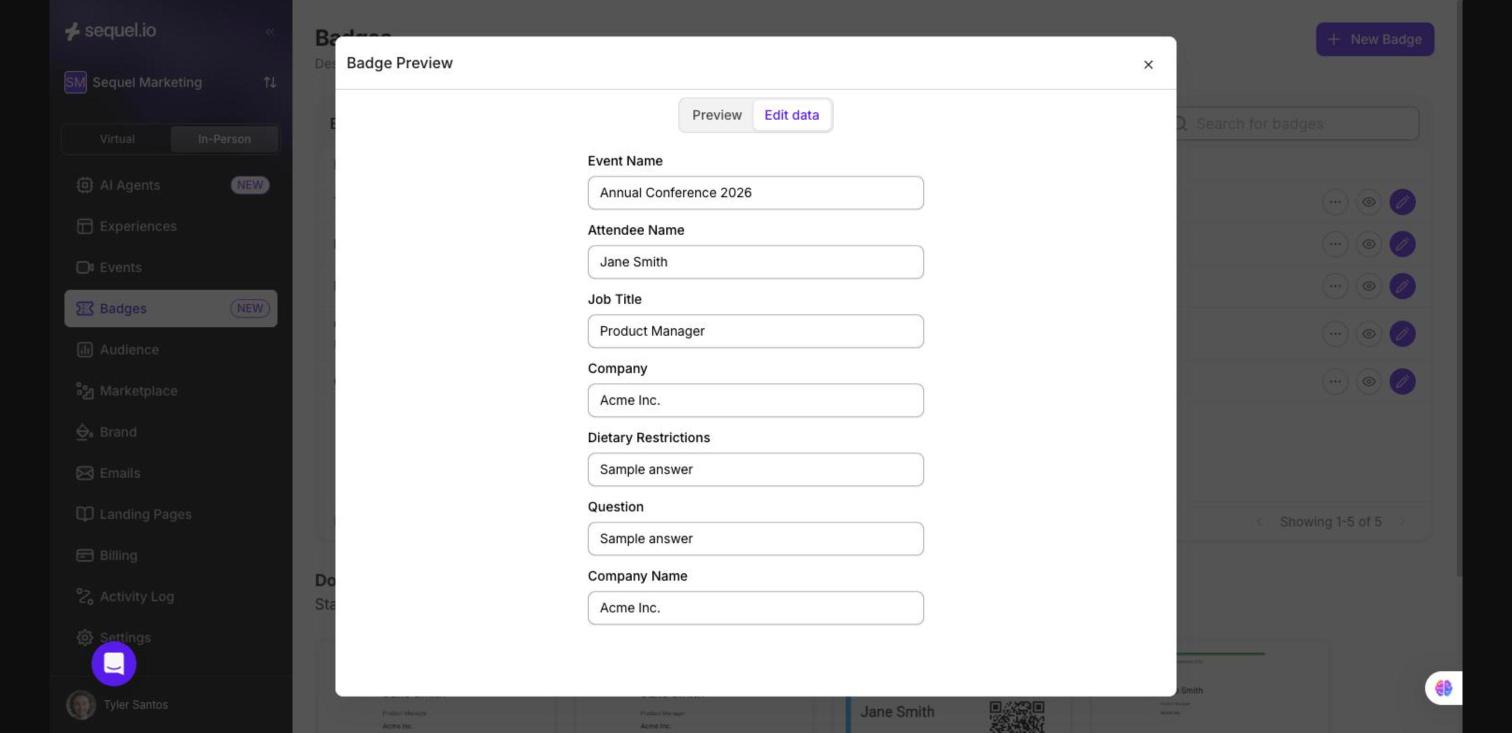
Switch to Edit data to type your own test values. It's a quick way to check that long names, job titles, and company names still fit.
Print badges
Once a badge is linked to your event, you can print it in two places:
Before the event. Go to the event's Participants tab, select attendees, and click Print badges.
At the door. When staff scan an attendee's QR code in the check-in app, their badge prints. Walk-ins can be registered and printed on the spot.
Supported printers
Sequel prints through your browser's standard print dialog, so there's no printer software to install. It works with:
USB label printers, such as Brother QL and DYMO
Thermal printers, such as Zebra
AirPrint printers
Standard inkjet and laser printers
Tip: In the print dialog, set the paper size to match your badge stock and set scaling to 100%.
Good to know
Badges are shared across events. Editing a badge design changes it for every event that uses it. To change it for one event only, duplicate the badge first.